Assign Collections
The Collection feature lets you organize your library assets similar to how WordPress post tags work. Organizing asset files this way is preferable to creating folders, because files can be referred to multiple places.
Assign to multiple Collections
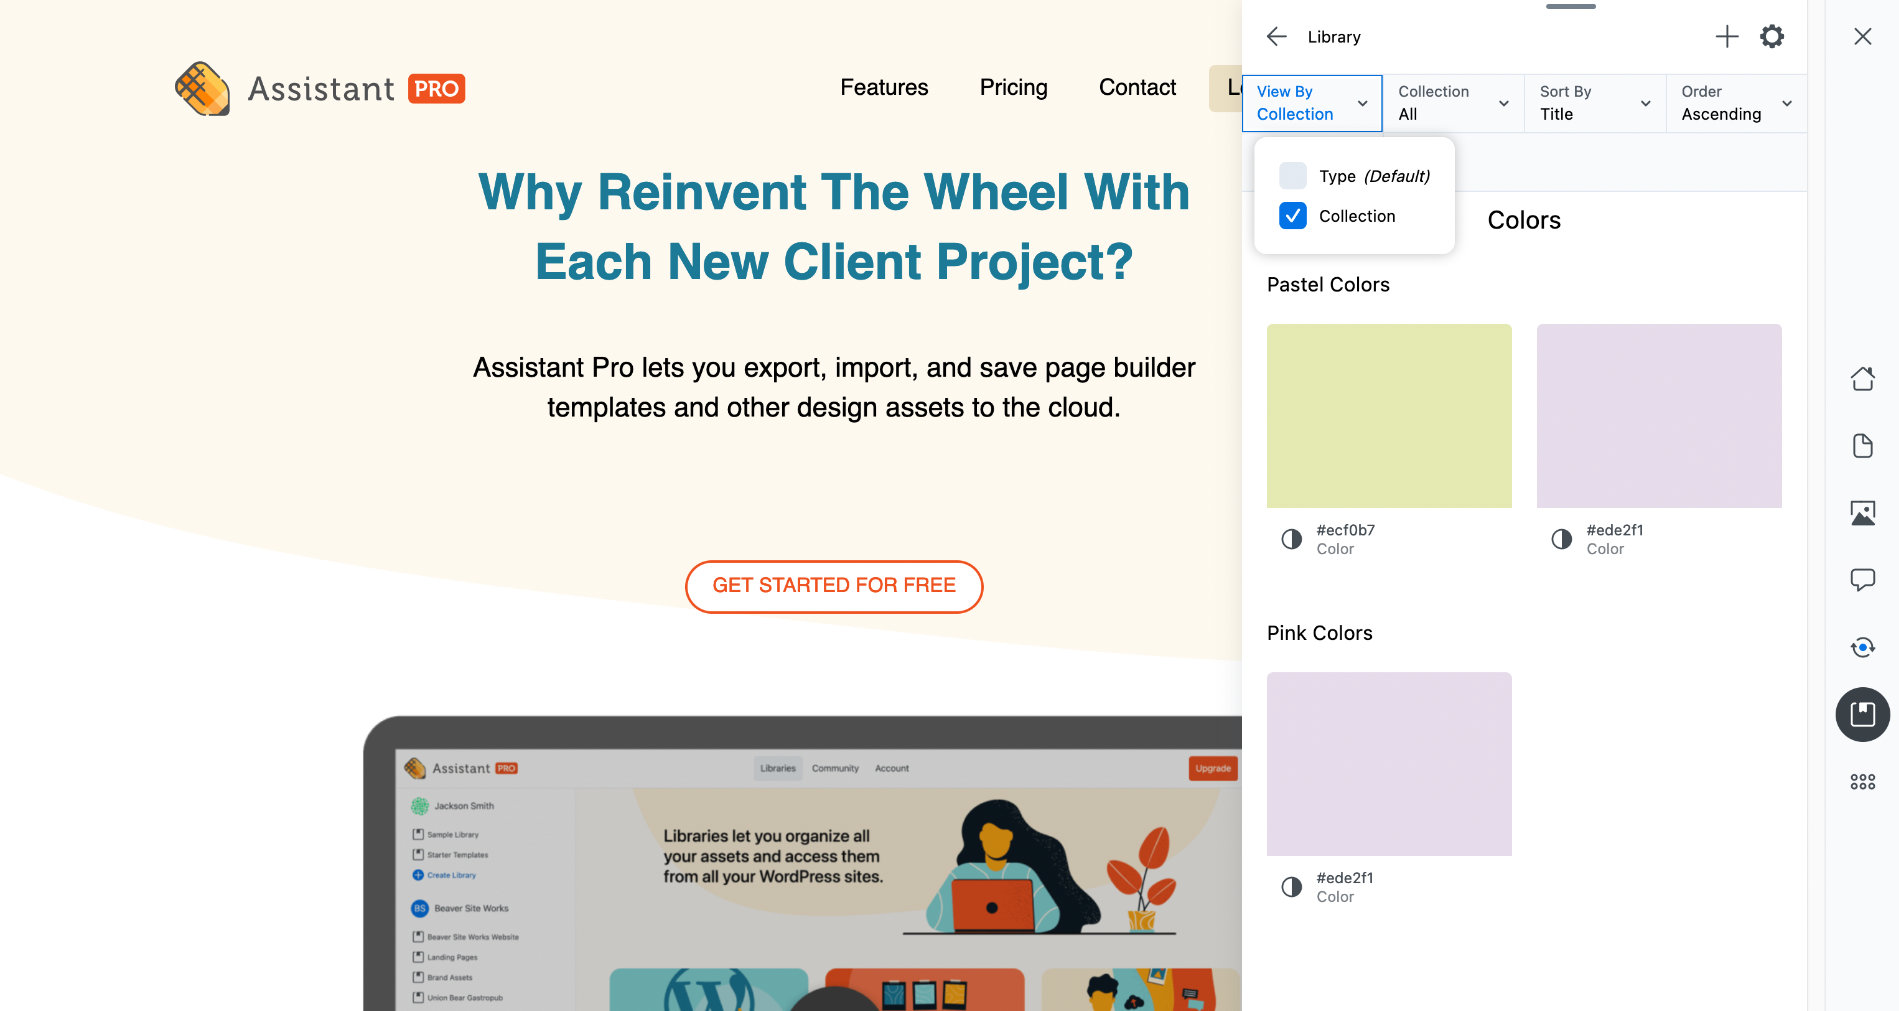
Any creative asset (posts, pages, images, etc.) can be assigned to one or more collections within a library. For example, you might want to assign certain posts, images, and colors to the same collection. You can view a library's assets either by asset type (the default) or by collection.
For example, suppose you assigned certain posts, images, and colors to a "Holiday" collection. Viewing the library by collection would then show you the Holiday posts, images and colors all grouped together, making it easy to import them for another holiday-themed section of a website.
For another example, you might want to group your color assets into collections. In the image below, the color #ede2f1 is filed under two collections; Pastel Colors and Pink Colors.
Assign Collections to a creative asset from Assistant Pro Cloud
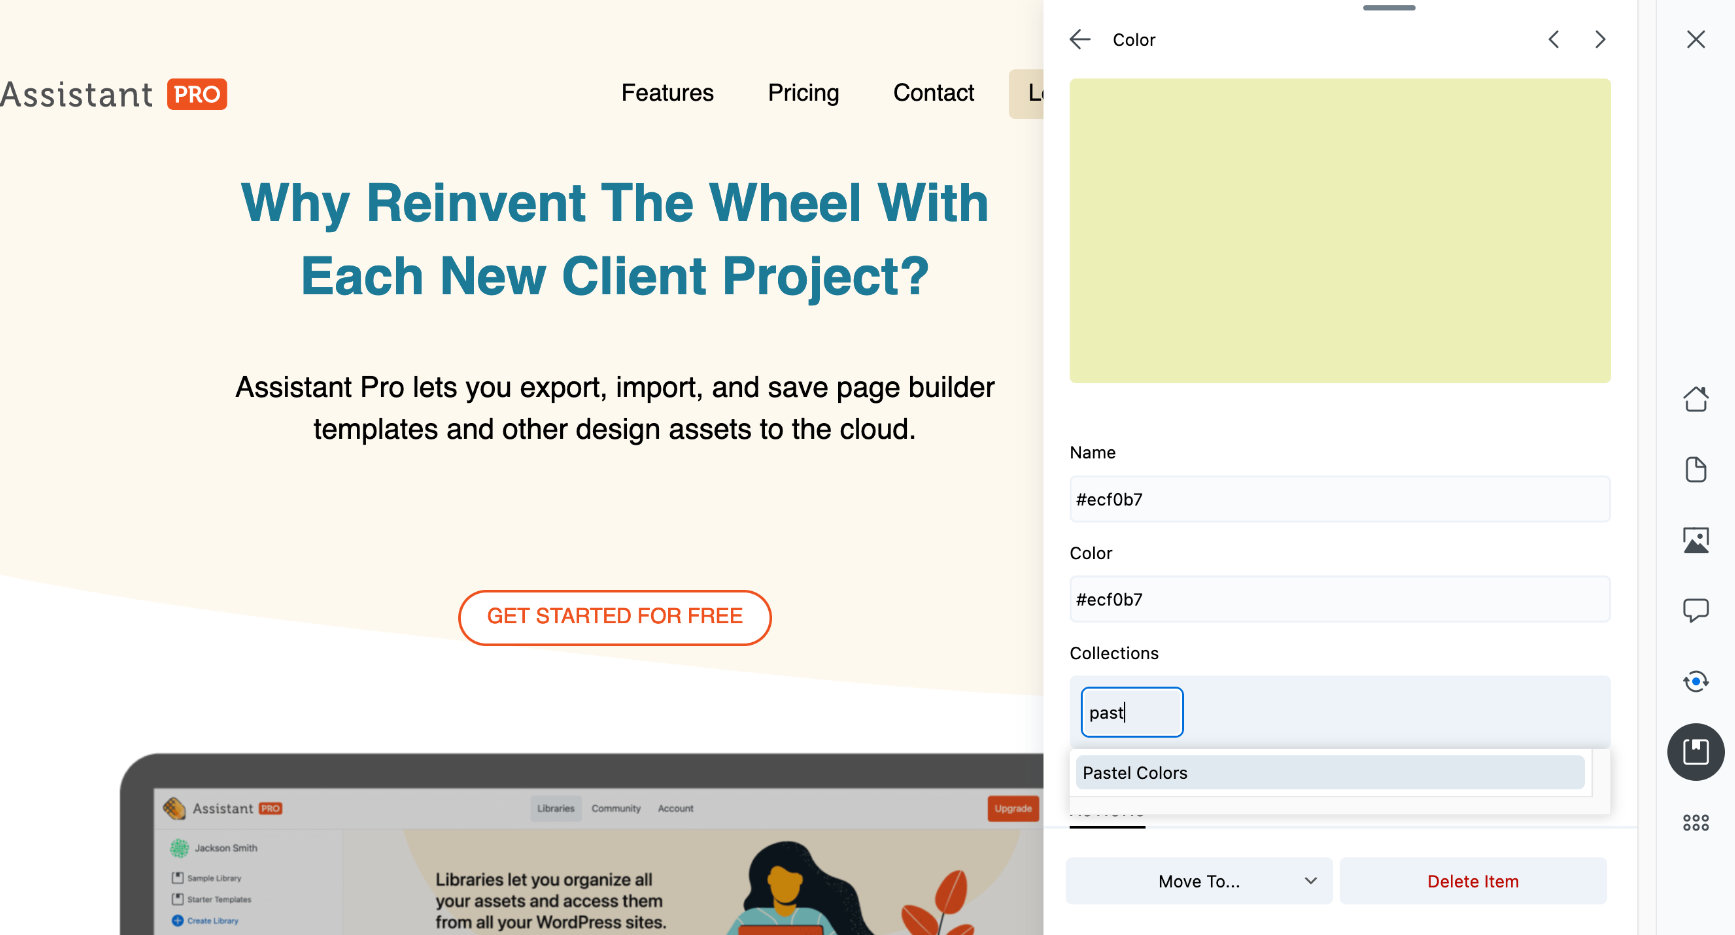
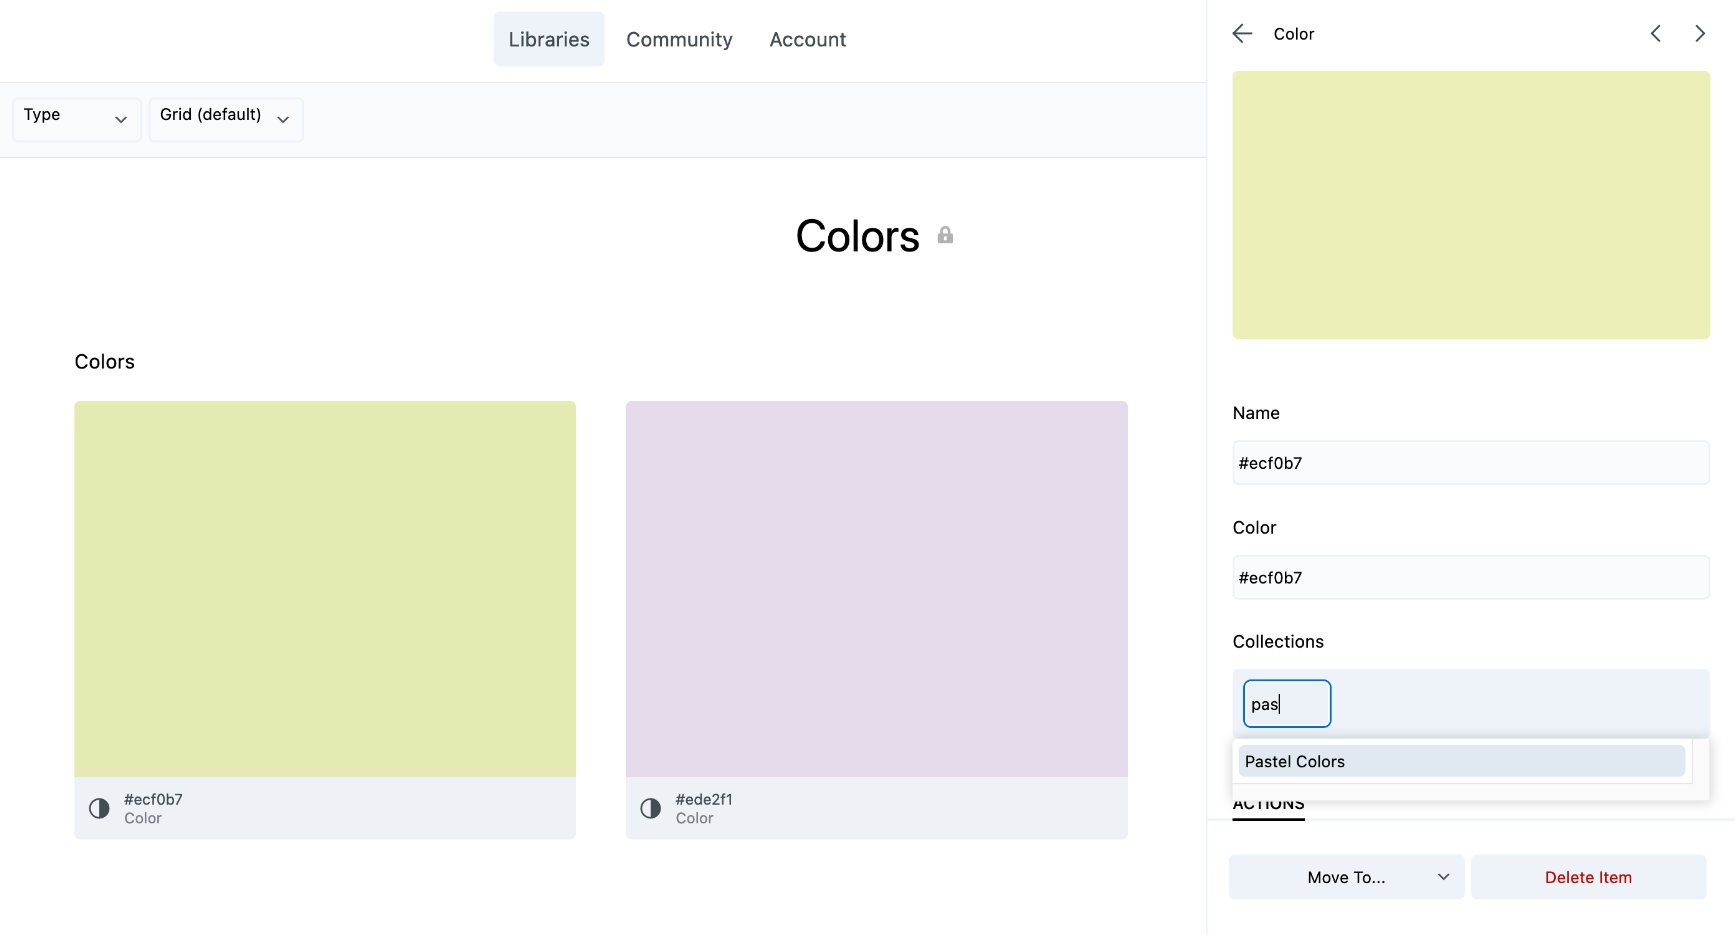
To add one or more collections to a creative asset:
- Click on an asset to open its settings.
- In the Collections field, start typing a collection name. Collection names that you've already used in that library will appear as suggestions.
Assign Collections to a creative asset from the Assistant Plugin
To add collections to a creative asset:
- Select the asset.
- Enter collection names into the sidebar dialogue field.
If you enter a collection name that is unassigned, Assistant will create a new collection with that name. This functionality is available in both the Assistant plugin and Assistant Pro Cloud.