Example: Create an author archive layout
An author archive page in WordPress is what you see, for example, when you click the author's name on a single post, and a list of that author's posts are displayed. When you create an Archive Themer layout and apply it to author archives, the field connections are a little different from the typical archive layout.
In this tutorial, we'll create the author archive Themer layout shown in this screenshot.
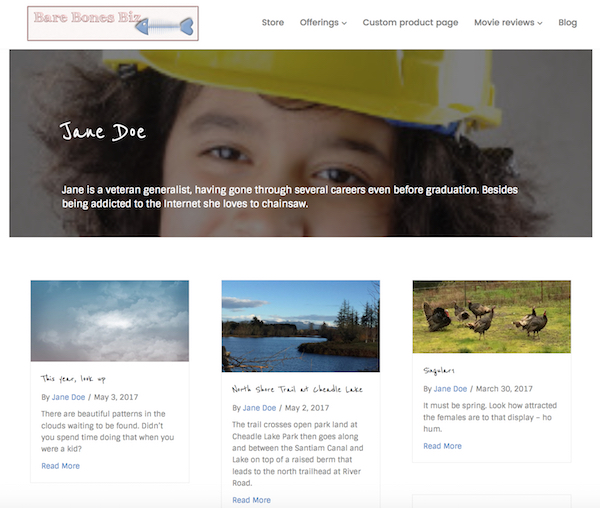
Here's what we're aiming for:
- The author's photo as a row background, with the author's name and author bio placed over the image
- A Posts module with Masonry layout, displaying all of the posts by that author.
Here are the tasks to complete, described in detail in the following sections:
- Make sure that at least one author has their author bio and image set up for their user profile, so you can see the result of your layout.
- Make sure that author has published at least one post, or create one by that author.
- Create an Archive Themer layout that will apply only to author archive pages.
1 Check for at least one author's user profile
It will greatly help with the Themer layout if you have an author who already has an author bio and an image. You can add this information to an existing user or create a test user.
- In the WordPress admin panel, click Users.
- Open a user for editing, or set up a test user, complete the basic information, and open that user for editing.
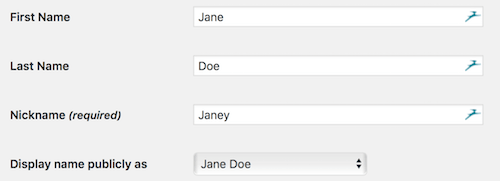
- In the field Display name publicly as, set the way you want the name to appear. In this tutorial, we are using first name and last name, which requires that the First name and Last name fields be filled in.
- In the About yourself section, add some information in the Biographical info box and an image for the Profile picture.
By default WordPress points uses a Gravatar as the user's profile picture. As an alternative, you can install a plugin that lets users upload and choose an image from the Media Library for their user profile picture. - Click Update profile to save this user information.
2 Make sure one or more posts are associated with that user or create one
Your author in the first task may have already authored a Post, or you can create a test post. This task is not required, but it will help you to see what a typical author archive will look like in your Themer layout.
- Check to see whether any Posts have been authored by the author in Task 1. If not, continue to the next step.
- Create a test post and publish it. If you are logged in as a different user, open the Post using Quick edit and change the author's name to the one in the first task.
3 Create an Archive Themer layout for author archives
We'll break this down into segments.
3a Create the Themer layout
- In the WordPress admin panel, click Beaver Builder.
A list of your Themer layouts displays. - Next to the Themer layouts title, click the Add new button.
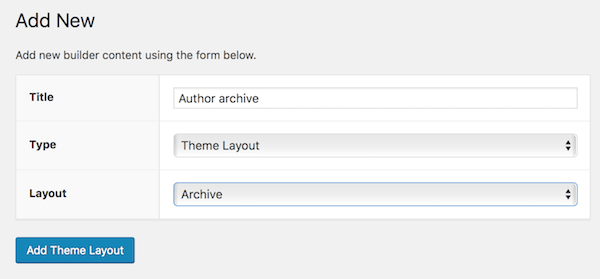
- In the Title field, enter Author archive , or any other name that will help you remember what this Themer layout is. In the Type field, select Themer layout and click Add Themer layout.
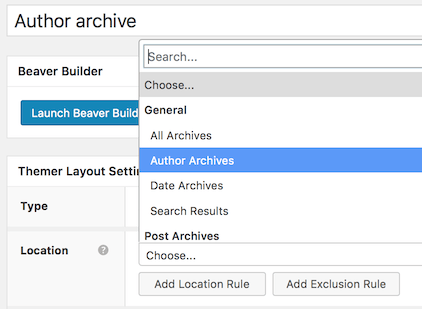
- On the Edit Themer layout screen, for Location choose Author archives, then click Launch Beaver Builder.
The initial layout is set up for regular Post and Category archives, so we'll make a few modifications.
3b Set the preview to Author archive
- In the Preview pane of the title bar, set the preview to Author Archives. This setting defaults to the currently logged-in user.

The Author Archive preview displays the archive title as the name of the currently logged-in user, and it limits the display of archive posts to those authored by the currently logged-in user. Now we'll customize the layout by adding the author image and author bio and checking the author name options.
3c Modify the row background
- Open the top row in the initial layout for editing.
- On the Style tab, change the text color to white (
#ffffff). - In the Background section, change Type to Photo.
- In the Background photo section, click the plus sign on the right of the Photo field and choose Author picture.
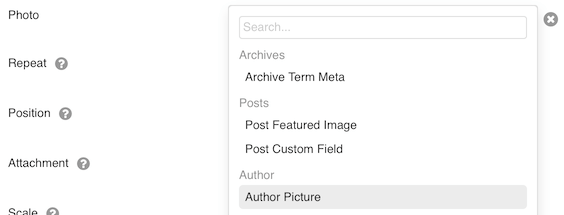
- In the Author picture options box, choose a size for the image. In this case, we chose 300px.
If you want a placeholder image to display when the author doesn't have an image in their user profile, select an image from your Media Library. Click Save to close the Author picture options box. - In the Background overlay section, change the Overlay color to black (
#000000) and change the Overlay opacity to50%. - Click Save to save all the row settings.
3d Modify the existing Heading module
- Open the Heading module for editing.
- In the Heading field, click the plus sign on the right and choose Author name.
- In the Author name box, choose how to display the author name. Leave the Link setting to No and click Save to exit the Author name settings box.
- On the Style tab, in the Alignment field choose Left to left-align the text.
- Save the module.
3e Add an author bio
To display an author bio, you can use a Heading module or a Text Editor module. We'll use a Text Editor module this time.
- Drag a Text Editor module into the layout between the author title and the separator.
- Click the plus sign to the right of the editing box to open the field connections.
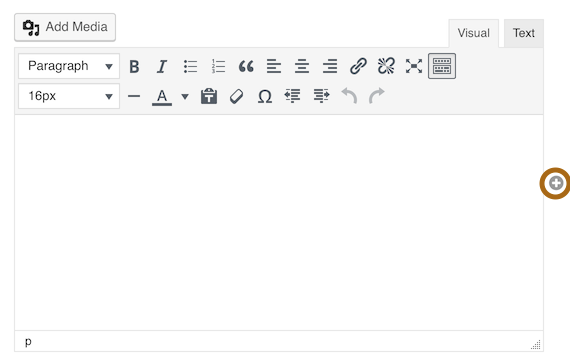
- Scroll down and click Author bio, then save the module.
You should now be seeing the author's bio if you're previewing a post page authored by a user with a bio. If the author doesn't have a bio, the module will not display.
If you put the author bio in a heading, you can use the Style tab to center the text. If you use a Text Editor module, you can use CSS to center the text. To do that, you can use the same procedure as the one given for centering text in an Archive Description module.
Change the Posts layout to Masonry
The Posts display in the initial layout uses a List layout. Let's change that to Masonry.
- Open the Posts module for editing.
- In the Layout field, choose Masonry, then save the module.
- Publish the page and test your layout by navigating to an archive or single post page on your site and clicking the author link for a post.